
Rapid Preparation of Transverse Sections of Plant Roots
 In order to analyze the cellular organization of roots, it is necessary to obtain transverse sections. The conventional histological methods involve the time-consuming processes of fixation, embedding ,and microtome sectioning. The method outlined here is a rapid one for obtaining transverse sections that enable the basic cellular organization of plant roots to be determined.
List of Reagents and Materials:
- Petri plates containing agarose-solidified media
- 3% agarose solution
- Double-edged razor blades
- Toludine blue stain (0.05% in water (pH = 4.4), buffered with 10 mM NaAcetate)
- Slides/Slide coverslips
- Compound light microscope
Experimental Method
- Seedlings are grown on nutrient medium in parafilm-wrapped petri plates. For Arabidopsis, the seedling should be approximately 4-5 days old.
- Take parafilm off the petri plate and immediately add sufficient water to the plate to cover the seedling. Let them sit until you are ready to embed them. However, you should embed and section the roots within an hour or so, since they will continue to grow, and will end up growing down into the agarose.
- Prepare 30-40 ml of 3% agarose (not agar) in distilled water in a 125 ml erlenmeyer flask and dissolve it in short bursts in the microwave. CAUTION: Because the mixture is viscous, swirling releases a lot of steam and bubbles – watch out for steam burns.
- Use the agarose solution immediately. Using a short glass pipette fill a suitable-sized mold with hot agarose solution.
- Let the agarose cool slightly (less than a minute), and before it gets too viscous, pick up a seedling from the flooded plate by its cotyledons with fine forceps, and set the seedling in the agarose by pulling it down and through the agarose. Try to keep the root as straight as possible. Try also to place it midway in the agarose, not too close to the top or bottom or this will make it difficult to section.
- Let the agarose harden at room temperature, then pop the block of agarose out of the mold, using a small spatula to loosen it. Put the blocks to be sectioned in distilled water in a petri plate so as to prevent drying out.
- Break double-edged razor blades (carefully in paper), and clean off the grease with ethanol and a kimwipe, or degrease by dipping in a 1:1 mixture of acetone:ethanol and wiping dry with a kimwipe. Cut up the agarose blocks and trim each piece containing a seedling to a comfortable rectangular shape you can hold in your hand between your thumb and forefinger.
- Cut thin cross-sections of the root, perpendicular to the length of the root beginning at the root tip and moving towards the base of the root. Once you start cutting into the root, try to cut thin sections, such that the agarose looks glassy and flexible, but does not crumple on the razor blade and does not look rough. If the razor blade cuts only sections with a rough surface, you probably need to start using a new blade or new part of old one (this happens frequently). Keeping the blockface wet (your fingers should be wet and dripping) helps the blade slide through the agarose more easily.
- Cut a number of sections along the edge of the blade, then slide the sections off the blade into water in a petri plate, using a small wooden stick trimmed to a spatula shape. Use these sticks to pick up and manipulate the sections. The sections are most visible if the petri plate is kept on a black surface and well-illuminated.
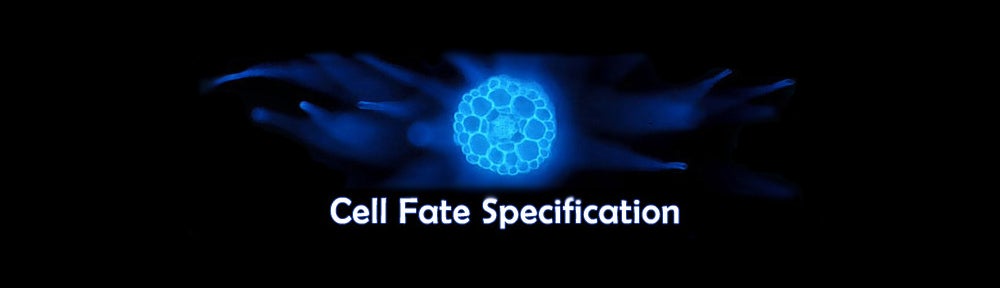
- Transfer the sections to the appropriate stain solution. A common stain is 0.05% Toludine blue, pH 4.4 (benzoate or sodium acetate buffered) for the light microscope. Immerse sections until the dye penetrates the agarose making it look dark. It doesn’t actually stain the agarose, only the root, since it will leak out again from the agarose when the sections are washed. In very thick sections, the dark staining of the root may make it difficult to see details of root structure on the surface of the section. [An alternative stain is a fluorescent cell wall stain such as Calcofluor, Tinopal or FB 28 (a fluorescent brightener from Sigma). Dissolve 1 mg of this stain in water, and stain the sections for about 10 minutes. A fluorescence microscope is required to examine these sections. For an example, see the image at the top of this page]
- Rinse the stained sections briefly in distilled water, then mount on glass slides in water, and view them on the microscope. The best sections are those in which all the cell walls are visible in focus, and no part of the section is crumpled or damaged. Sometimes a dull razor blade will crumple all the cells on one side of the section.
- Arabidopsis root sections should possess (from outside to inside) a single layer of epidermal, cortical, edodermal, and pericycle cells. The easiest layer to identify is the cortical layer, which normally has 8 large cells.
back to top