We have installed the Google Analytics plugin by WPMUDEV for WordPress multisite to help site owners track, monitor, and explore the visitor activity for their site. If you are interested in accessing the Google Analytics for your website we two options for set up. Find more information on Google Analtyics at www.google.com/analytics.
- Option 1: CMS Web Services can set up your Analytics account and add you as a new user with full administrator access to the account. We will input your tracking code into your WordPress site. You will receive an email with an access link to the new google analytics account. After you access your account, Web Services can remove their administrative access to your account (or you can delete our access).
- Option 2: Whoever is the site administrator/site owner of your WordPress site can set up a Google Analytics account for your website and activate the WordPress Google Analytics plugin in WordPress by plugging in the site tracking code.
Directions for option 1:
- Please let Web Services know you would like to have us set up Google Analytics for your Website. Email lsa.web.support@umich.edu for the request.
- You will receive an email like the picture below but with your site information. Click the link in the email (http://www.google.com/analytics) to log in and access your account.

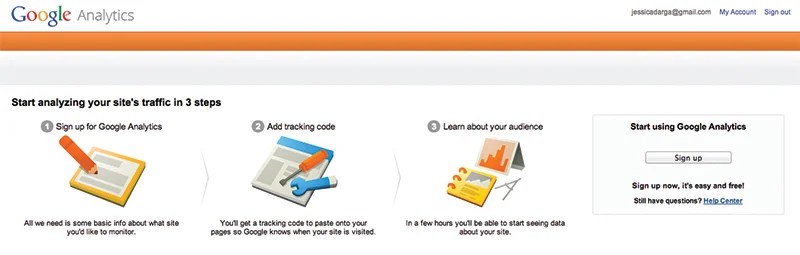
Click to enlarge - After clicking the link for accessing your account you’ll land on this page pictured below. The top right corner will either say “Access Google Analytics” or “sign in” or “create an account.”

Click to Enlarge - If you see and click “Access Google Analytics” in the top right corner the browser may already have you registered with your UM credentials. In that case, you’ll skip logging because the browser already recognizes your uniqname and password (usually if you are logged into your gmail and using the same browser to access analytics) so you’ll be logged in automatically and go right to the analtyics accounts dashboard.
- If you see “sign in” or “create an account” the browser will need to redirect you so you can sign in with your UM credentials. Click “sign in” and you land on the page pictured on the left.

click to enlarge Enter your full UM email in the email field and click “sign in.” You’ll then be wisked away to the UM gateway login – enter your uniqname and kerberos password here. You will then be logged in officially to your Google Analtyics account dashboard.
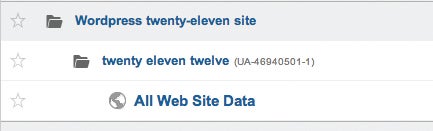
- From here, you’ll see the folders containing your sites analytics: click “All Web Site Data”

to check out your analtyics dashboard. - If at any time you need help – check out the help tab on the top far right of the admin bar. Here you can search for answers to any questions.
- If you’d like to delete the Web Services account for your analytics account, go to “Admin” then under “Account” click “User Management.” Click the “delete” link to the right of the person you’d like to remove. Or email us at lsa.web.support@umich.edu to remove the Web Services person from your Analytics Account.


Directions for Option 2:
- Go to www.google.com/analtyics and follow step 3 to create an account. Since you will be new to sign-in and create an account you might see this intro page pictured below and then be prompted to “sign up” and create a new account. You will follow the link to “Sign In.”

- When you are on the new account creation page which is pictured below. Fill out all of the fields and click “get tracking ID.”

Click to Enlarge - Keep “Universal Analtyics” selected
- Choose a name for your account and property such as, account: WordPress Website for Professor Denver and property: Professor Denver’s Site.
- Enter your site address: sites/lsa.umich.edu/ “YOURSITEURL” the “http://” is already included to the right of that field.
- Fill out the remaining fields and select or deselect the checkboxes you’d like. Then click “get tracking ID.”
- On the new Page that opens you’ll see your new Tracking ID at the top. Your Google Analytics tracking code will start with a “UA-” followed by 6 numbers: Example, UA-XXXXX-X. The Site tracking code will track this site and you’ll need to enter it into the Google Analtyics plugin in your WordPress Site.
- Go to your WordPress sites dashboard navigate to Settings/Google Analytics and past the tracking code here.
- Select “Enable” for the first option below (Page load times tracking) and click “Save Changes.”
- Back in your Google Analytics account you’ll have access to “All Web Site Data” to check out all charts, graphs, and analytical information from your site.